
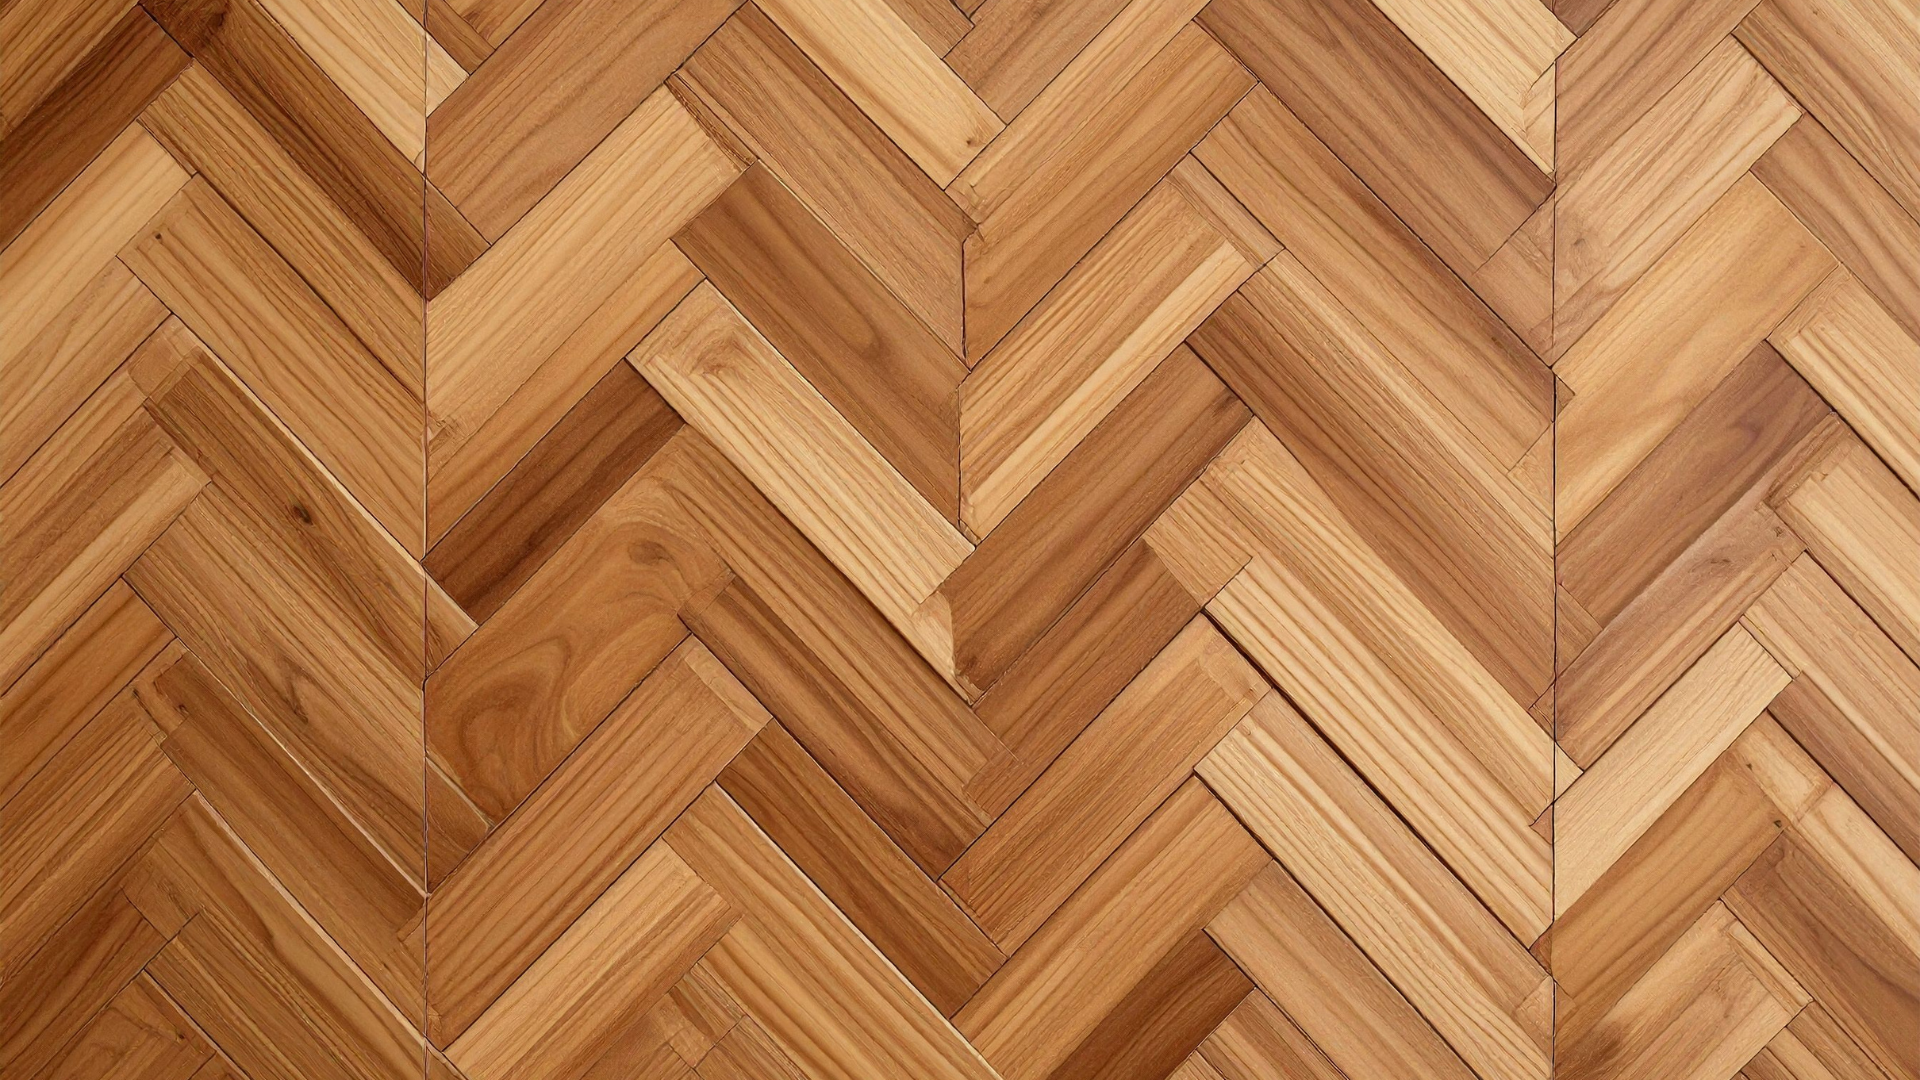
How to Repair Hardwood Floor Scratches
Hardwood floors are the heart of many homes across Greater Vancouver and the Fraser Valley. They provide a timeless elegance that can last for generations, but even the most durable oak or maple isn’t completely immune to life’s little accidents. Whether it’s from a frantic pet, a piece of furniture moved without pads, or grit tracked in from a rainy day, homeowners often find themselves researching how to repair hardwood floor scratches safely and effectively.
At Sandover Floors, we have been working with hardwood since 1939. Over those eight decades, we have seen every type of floor damage imaginable. The good news is that most scratches are solvable. Depending on the depth of the mark and the type of finish you have, your plan for how to repair hardwood floor scratches might involve a simple DIY fix or a professional restoration to bring the wood back to life.
Assessing the Damage: Surface Scuff or Deep Gouge?
Before you can decide how to repair hardwood floor scratches, you need to determine exactly what kind of damage you are dealing with. We generally categorize floor wear into three levels:
Superficial Scratches: These only affect the clear topcoat (polyurethane) and haven't actually reached the wood fibers. They often look like white or hazy streaks.
Minor Scratches: These have penetrated the finish and slightly nicked the wood itself. You can usually feel these with your fingernail.
Deep Gouges: These are structural indentations where wood has been removed or compressed. These often occur from moving heavy appliances.
Knowing the difference is vital because the best method for how to repair hardwood floor scratches depends entirely on the depth of the damage.
Step-by-Step: How to Repair Hardwood Floor Scratches at Home
If you are dealing with minor wear and tear, there are several reliable ways to address the marks without calling in a full renovation team. Here is the professional sequence for how to repair hardwood floor scratches on a DIY basis.
1. The Clean and Buff Method (For Surface Scuffs)
Often, what looks like a scratch is actually just a mark on top of the finish.
Clean the area: Use a pH-neutral hardwood cleaner and a microfiber cloth to ensure no dirt is trapped in the scratch.
Use a concealer: For very light surface marks, a high-quality hardwood floor "scratch cover" or a specialized polish can often mask the white line of the scuff. This is the simplest way for how to repair hardwood floor scratches that haven't hit the wood.
2. Using Blending Pencils and Stains (For Minor Scratches)
If the color of the wood is missing, you need to add pigment back in.
Find a match: Use a wood-tone repair pencil or a stain marker that closely matches your floor’s species (like Red Oak or Walnut).
Apply and wipe: Apply the pigment sparingly to the scratch, then immediately wipe away the excess with a soft cloth. When learning how to repair hardwood floor scratches, remember that less pigment is usually better.
3. Filling the Void (For Deeper Marks)
When the wood is physically gouged, you need to fill the space.
Wood Putty: Use a pre-colored latex wood filler.
Level it out: Apply a small amount with a plastic putty knife and wipe it flush with the floor surface while damp. This is a common technique for how to repair hardwood floor scratches that are too deep for a marker.
Is the Damage More Than a Quick Fix?
Sometimes a scratch is too deep or too widespread for a DIY marker to hide. If your floors are showing significant wear across the entire room, it might be time for a professional assessment. Our family has been the leader in hardwood flooring Vancouver services for over 80 years. We invite you to contact us today for a free quote on restoration.

When to Avoid DIY Repairs
While many online guides suggest using kitchen pantry items like walnuts or olive oil, as professionals, we advise caution. When people ask us how to repair hardwood floor scratches, we warn them that applying oils or food products can create a "bond-breaker." If you ever decide to have your floors professionally recoated in the future, the finish may not stick to areas where oils were applied.
If you are researching how to repair hardwood floor scratches on a floor that is very old or has a specialty matte finish, it is often safer to consult an expert. A mistake in staining a small spot can result in a "halo" effect that is more visible than the original scratch.
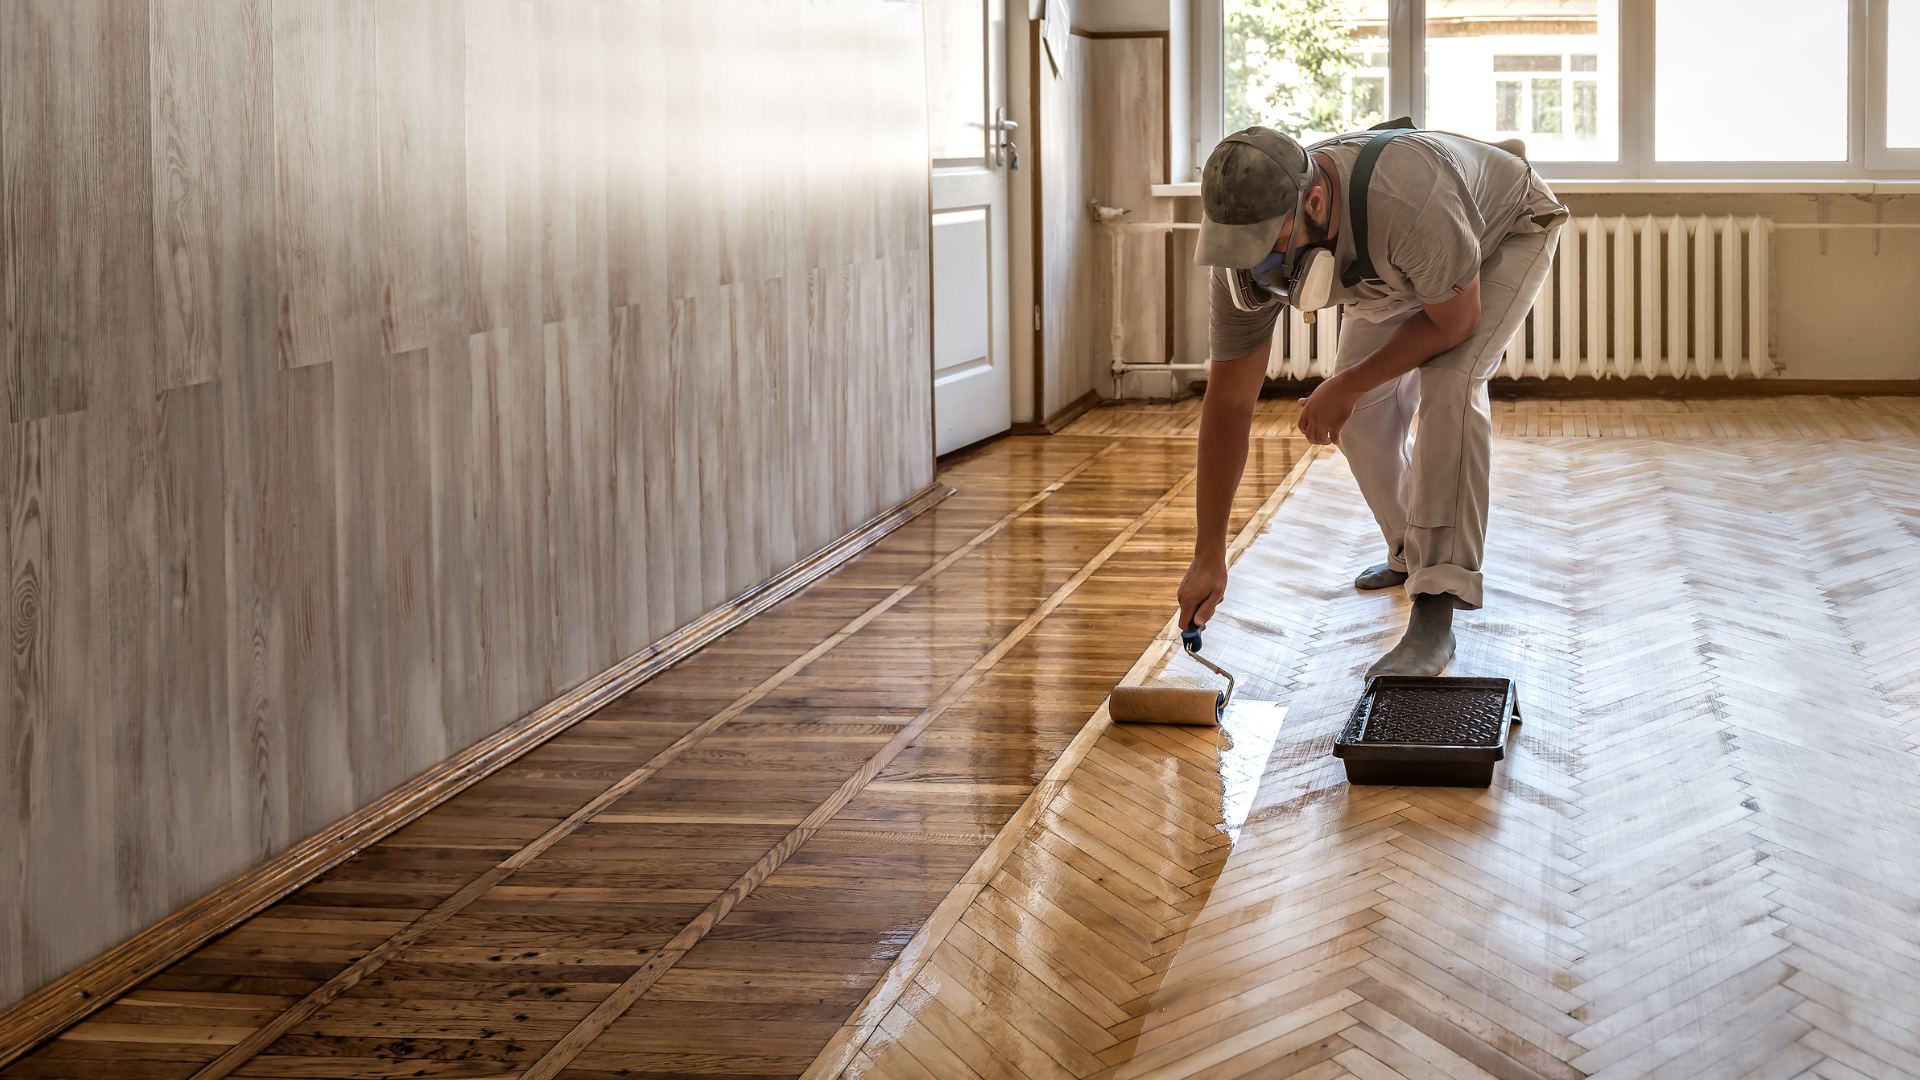
Professional Solutions: Sanding and Refinishing
For homeowners in Burnaby, Richmond, or North Vancouver with extensive scratching, perhaps from years of pet traffic or a "shoes-on" household, the best answer is often a professional refinishing.
A professional "sand and finish" involves removing the damaged top layer of the wood entirely. This doesn't just hide the scratches; it erases them. Our team uses modern, dust-contained sanding systems to ensure your home stays clean while we restore your floors to their 1930s or 1950s glory. For floors with minor but widespread surface wear, we might suggest a "screen and recoat," which refreshes the top layer without the need for full sanding.
Preventing Future Scratches
The best way to manage floor repairs is to prevent them from happening in the first place. Here are a few "pro tips" we’ve gathered over decades of service in the Fraser Valley:
The Felt Pad Rule: Every piece of furniture, from the heaviest sofa to the lightest dining chair, should have high-quality felt pads on the legs.
Area Rugs: Place runners in high-traffic hallways and rugs in play areas where toys might be dropped.
Pet Manicures: Keeping your dog’s nails trimmed is the single best thing you can do for your hardwood’s longevity.
Manage the Grit: Vancouver rain brings mud and sand. A "no-shoes" policy is the gold standard for protecting your investment.
Restoring the Heart of Your Home
Hardwood floors are incredibly resilient. Even if they currently look dull or marred by scratches, they almost always have the potential to be beautiful again. Whether you are using a simple touch-up kit for a minor scuff or considering a full professional restoration, the key is to act with care and respect for the natural wood.
If you are still unsure about how to repair hardwood floor scratches or if the damage in your home seems too extensive for a DIY fix, don't hesitate to reach out. Sandover Floors combines generations of expertise with the latest flooring technology to serve families across Metro Vancouver and the Fraser Valley.
Ready to see your floors shine like new again? Contact us today and let our family take care of yours.
Frequently Asked Questions
How do I repair hardwood floor scratches in engineered wood?
Engineered floors have a thinner "wear layer" of real wood on top. You can still use repair pencils and fillers, but you must be extremely careful if sanding, as you don't want to sand through to the plywood core.
Can I use a steam mop to clean scratches?
No. Never use steam on a scratched floor. The steam can travel through the scratch directly into the raw wood fibers, causing them to swell and turn black.
How do I repair hardwood floor scratches that have turned black?
Black marks usually indicate that moisture has gotten into the wood grain. This often requires professional sanding and sometimes a chemical treatment to remove the tannin stains before refinishing.
Does insurance cover deep floor gouges?
This depends on your policy and the cause of the damage (e.g., a sudden accident vs. gradual wear). It is best to speak with your provider, but we can provide a professional quote for the repairs if needed.