
How to Fix the Scratch on Hardwood Floor: A Vancouver DIY Guide
You notice it the second the afternoon light hits the floor just right. One scratch cutting across your beautiful hardwood, maybe from a dog sprinting to the door or a chair pushed back too quickly. The good news is that most scratches are easier to deal with than you would think. Learning how to fix the scratch on hardwood floor really comes down to matching the right method to the depth of the damage. Below, the Sandover Floors team walks you through each type, the products that work, and the small tricks that make a repair disappear, plus when a professional hardwood floor repair is the smarter call.
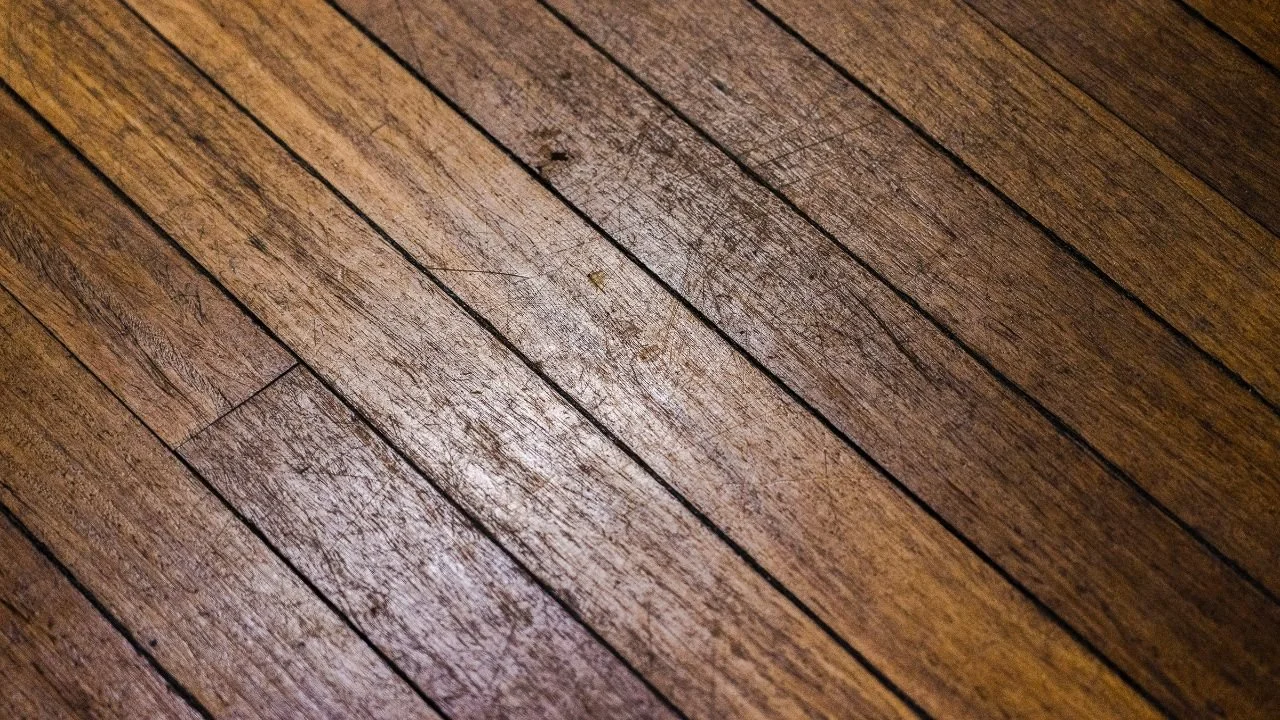
How to Fix the Scratch on Your Hardwood Floor: Start With the Depth
Before you reach for any product, take ten seconds to check how deep the scratch goes. The quickest test is your own fingernail. Run it gently across the mark and see how it reacts:
Light surface scratch: your nail glides right over it, and the mark only shows when light catches it. The damage sits in the finish, not the wood.
Medium scratch: your nail catches slightly and you notice a faint color change where the finish has worn through.
Deep scratch or gouge: your nail dips into a groove and bare wood is exposed.
Once you know which category you are looking at, the right fix becomes obvious.
Fixing Light Surface Scratches
These shallow marks live in the finish layer and never reach the wood. They are the fastest to handle, often in under ten minutes. Your options include:
A color matched touch up marker or blending pencil dabbed along the scratch, with the excess wiped away
A thin coat of hardwood floor polish across a dull, hazy patch to even out fine scuffs
A soft cloth buff to blend the repaired area into the surrounding boards
You may have seen the home remedy that mixes olive oil with a little vinegar. It can temporarily mask a faint mark, but be realistic: it only hides the scratch for a while and does nothing to repair the finish. For a fuller rundown of quick options, Bob Vila's guide to wood floor scratch repair is a helpful reference. Treat these as short term fixes rather than lasting repairs.
Repairing Medium Scratches
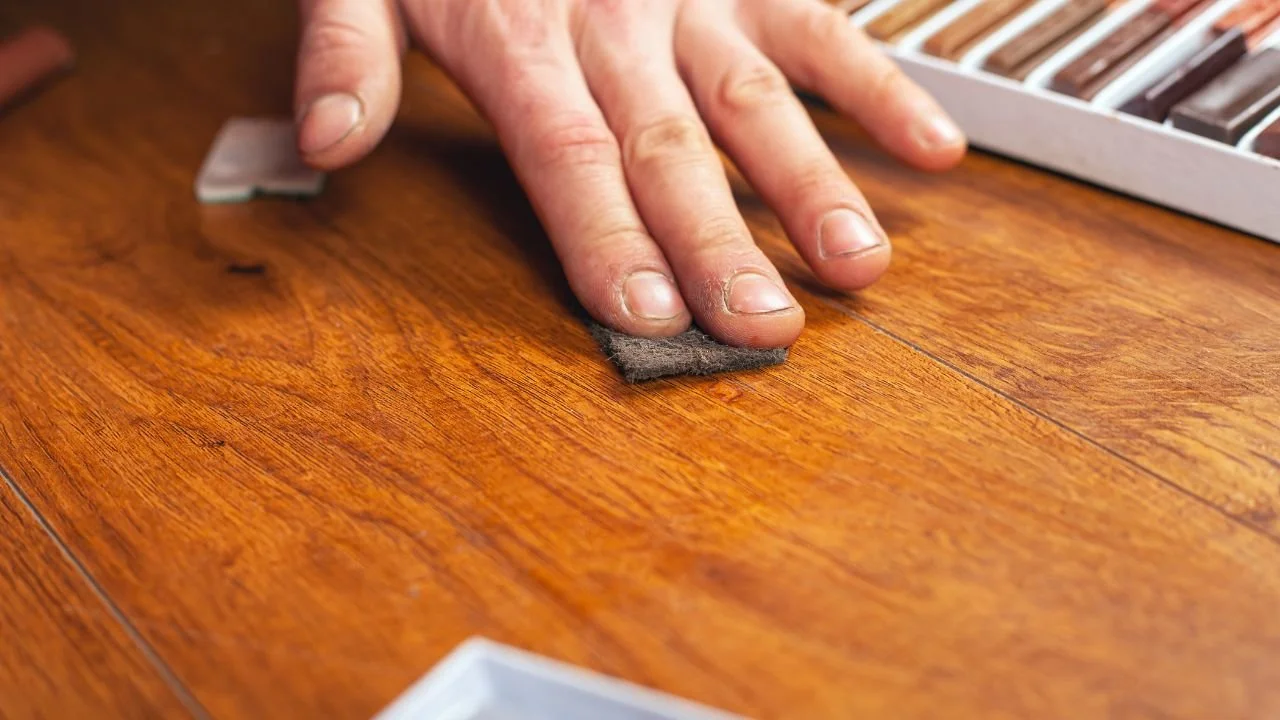
Medium scratches break through the finish and lightly mark the wood beneath. A wax stick filler is your best tool here. The basic steps:
Clean the scratch and the area around it so the wax adheres well
Rub a wax stick in a matching tone across the scratch, pressing it into the groove
Buff with a soft cloth until the wax blends with the surrounding floor
If the wood tone needs correcting, apply a dab of matching stain before sealing
Buying a small set of wood tone colors rather than a single shade is worth it, since blending two or three tones almost always matches a real floor better than one. If the color has shifted across a wider area, our hardwood floor staining service can restore an even tone.
Handling Deep Scratches and Gouges
Deep scratches and gouges reach bare wood and need a proper patch. This takes more patience but is still doable on a small area. Work through these steps:
Clean the gouge thoroughly so filler bonds properly
Press color matched wood filler into the groove with a putty knife, level with the surrounding surface
Let the filler cure fully before touching it
Lightly sand the spot smooth once dry
Stain to match, then seal with a compatible finish
One detail matters most: deep repairs usually need 24 to 48 hours of curing time before the area takes foot traffic. Walking on it too soon compresses the filler before it hardens and ruins the work. If deep gouges appear across much of the floor, a full hardwood floor restoration is often more practical than patching each one.
Pro Tips for an Invisible Repair
The difference between a repair you can spot from across the room and one that vanishes usually comes down to a few habits:
Match both color and sheen. A glossy patch on a satin floor stands out as much as the wrong color
Test your product in a hidden spot first, like inside a closet or under furniture
Keep a set of blending tones on hand rather than a single marker
Give deep repairs their full curing time before walking on them
Set expectations on longevity: marker and wax fixes on light scratches often last several months to about a year in busy areas, while a proper filler and finish repair can last for years
When to Call a Professional
DIY methods shine on isolated scratches, but there is a point where spot repairs stop making sense. It is worth calling a professional when:
Scratches cover a large area or appear across many boards
The finish is worn through in high traffic zones
Water marks, fading, or deep gouges sit alongside the scratches
Spot repairs would end up looking patchier than the original damage
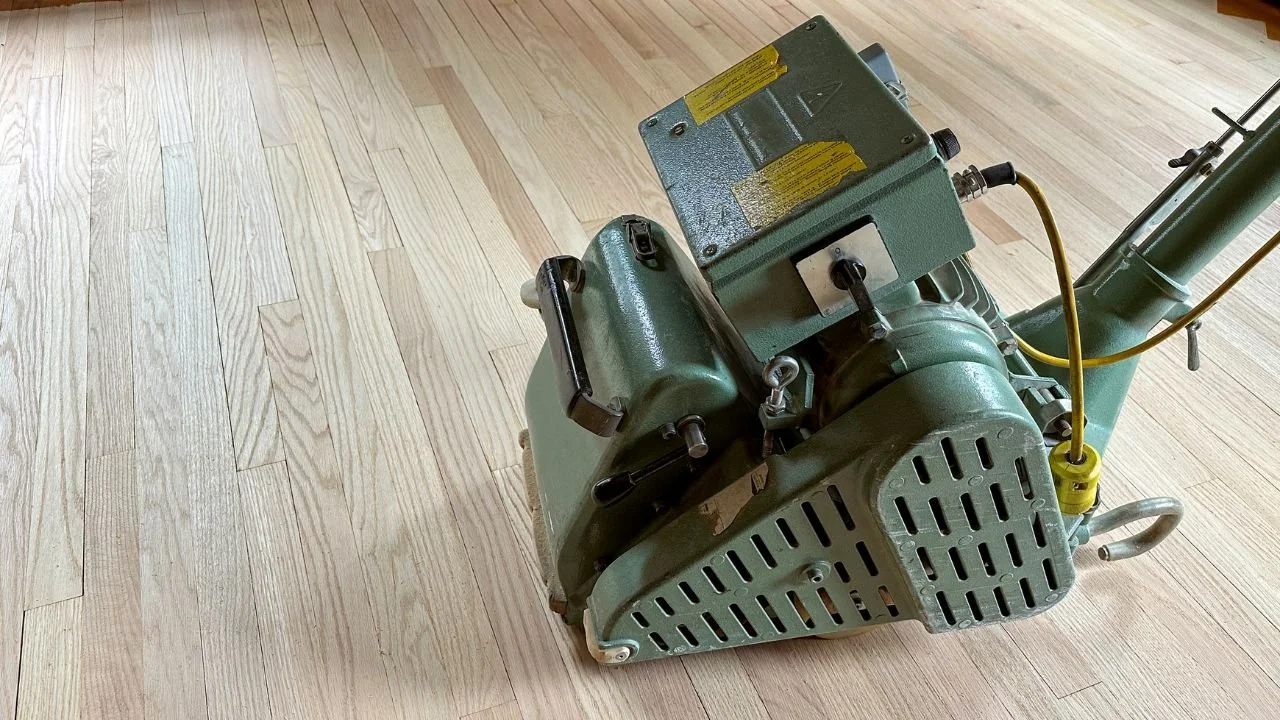
At that stage, hardwood floor refinishing is the better investment, since sanding removes every scratch at once for a smooth, uniform surface. It is especially worth it in older Vancouver homes where wear has built up over decades.
Preventing Future Scratches
The best scratch is the one that never happens. A few simple habits go a long way, especially in a wet coastal city where grit gets tracked in all winter:
Place felt pads under furniture legs and lift rather than drag heavy pieces
Use doormats at entryways and consider removing shoes indoors
Trim pet nails regularly
Add rugs or runners in hallways and other high traffic paths
Sweep or vacuum often so grit does not grind into the finish
Keeping Your Floors Looking Their Best
A scratched floor is rarely as serious as it first looks. Once you know how to fix the scratch on hardwood floor by matching your method to the depth, most marks disappear with a marker, a wax stick, or a careful filler repair. Diagnose the damage first, match both color and sheen, and give deeper repairs time to cure. And when the scratches have outnumbered what spot fixes can handle, refinishing offers a clean slate.
If your floors need more than a quick touch up, we are happy to help. Contact our Vancouver team for a free, no obligation assessment and we will recommend the most cost effective way to get your floors looking their best again.
Frequently Asked Questions
What is the fastest way to fix a scratch on a hardwood floor?
Start with the fingernail test to judge depth. Light surface scratches take under ten minutes with a touch up marker or wax pencil. Medium scratches need a wax stick, and deep gouges call for filler, sanding, staining, and sealing. Matching the method to the depth is the fastest route to a clean result.
Do home remedies like vinegar and oil really work?
They can briefly reduce how visible a minor scratch is, but they only mask the mark and do nothing to repair the finish or the wood. Treat the olive oil and vinegar trick as a short term cosmetic fix while you plan a proper repair.
How do I match the color when I fix the scratch on my hardwood floor?
Buy a set of wood tone markers or wax sticks rather than a single color, since blending shades matches real wood better. Just as important, match the sheen of your finish, and always test on a hidden area first.
Can deep scratches be fixed without refinishing the whole floor?
Yes. Isolated deep scratches can be spot repaired with wood filler, careful sanding, and a matching stain and finish. Refinishing only becomes the better option when scratches are widespread or the finish is worn across large areas.
How long will a DIY scratch repair last?
Marker and wax repairs on light scratches generally hold up for several months to about a year in busy areas before needing a refresh. A proper filler and finish repair on a deeper scratch can last for years, often until the floor is due for its next refinish.