
How to Apply Stain to Hardwood Floors Without Regrets
Hardwood floors age like fine wine — but only if you treat them right. Over time, the shine fades, the color dulls, and scratches creep in. That’s when homeowners start asking: how to apply stain to hardwood floors so they look brand new again?
The truth is, applying stain is equal parts science and art. Do it right, and your floors will glow for decades. Do it wrong, and you’ll end up with blotches, streaks, or worse — a costly resanding job.
At Sandover Floors, we’ve been staining, refinishing, and restoring hardwood since 1939. In this guide, we’ll show you step by step how to apply stain to hardwood floors, the pitfalls to avoid, and how to get professional-grade results you’ll be proud of.
Step 1: Know Your Wood Before You Stain
Not all woods are created equal. Some soak up stain beautifully, while others resist it.
Great for staining: Oak, ash, cherry, walnut
Trickier to stain: Maple, birch, pine (these can look blotchy if not handled with expert prep)
This is why the first rule in how to apply stain to hardwood floors is to test an inconspicuous area. What looks like a warm walnut on the can might turn into a near-black in your living room depending on species, grain, and light.
Ask Sandover Floors about the best stain options for your hardwood
Step 2: Preparation Is Everything
If your floor isn’t properly prepped, stain will magnify every flaw. Scratches, sanding swirls, gouges — all will look ten times worse once color pigment seeps in.
Here’s how the pros prep when following how to apply stain to hardwood floors:
Clear the space. Move furniture, rugs, and drapes.
Hammer down protruding nails. A raised nail head can ruin your sander — and your stain job.
Sand methodically. Start with coarse grit (36–40), then medium (60), then fine (100+). Skipping steps creates uneven absorption.
Edge properly. Use an edger or orbital sander for corners and small spaces.
Screen buff. This final buff smooths out tiny imperfections so stain glides evenly.
Step 3: Clean Like Your Finish Depends On It (Because It Does)
Dust is your enemy. Even the smallest particles will leave specks and streaks in your stain.
Vacuum, tack cloth, vacuum again. When pros explain how to apply stain to hardwood floors, this is the step we emphasize the most. A spotless surface means an even, beautiful finish.
See how Sandover Floors restores floors to a flawless finish
Step 4: Optional — Water Popping for Richer Color
Want a deeper, more consistent look? “Water popping” opens the grain of the wood so it absorbs stain more evenly.
Apply distilled water lightly with a T-bar applicator.
Let the floor dry completely (1–4 hours).
The surface will feel slightly gritty — that’s normal.
This technique is especially useful with darker stains. If you’re serious about how to apply stain to hardwood floors with rich, even tones, water popping can make all the difference.

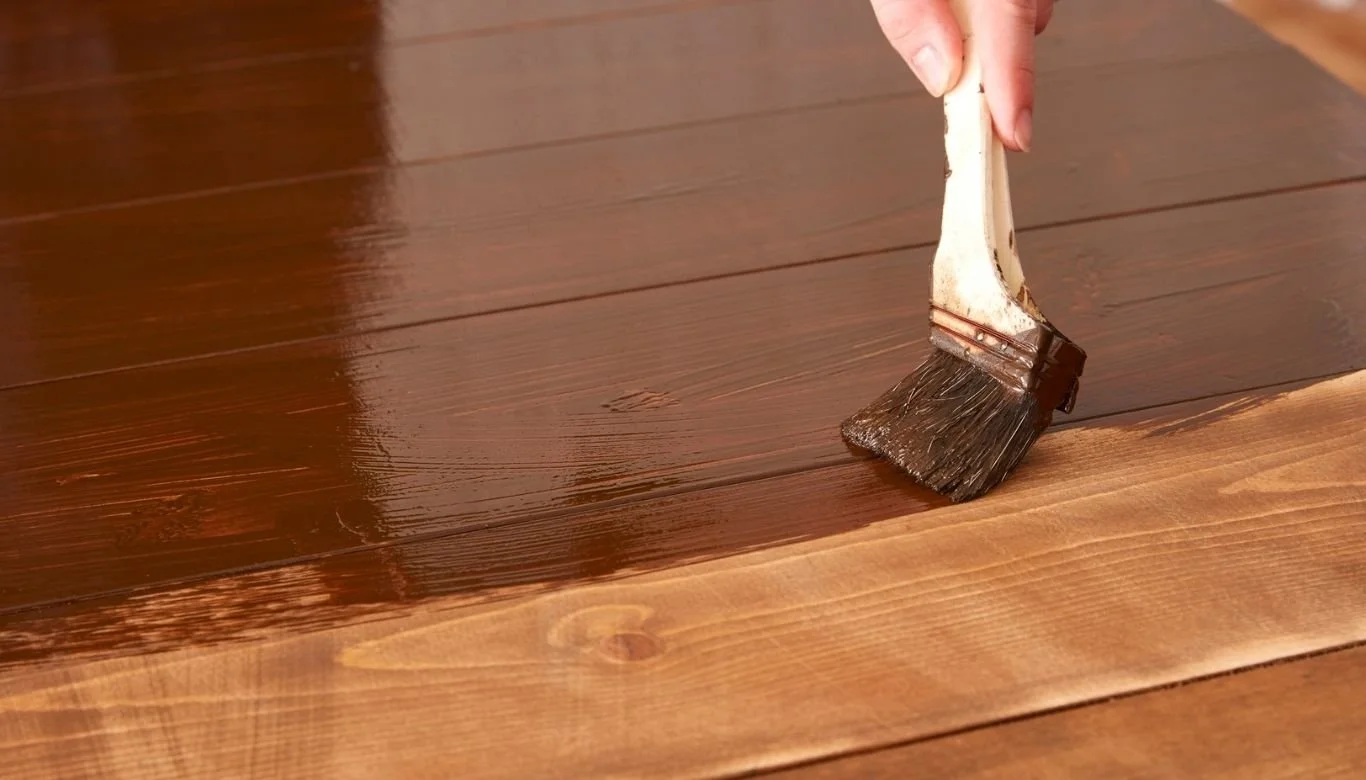
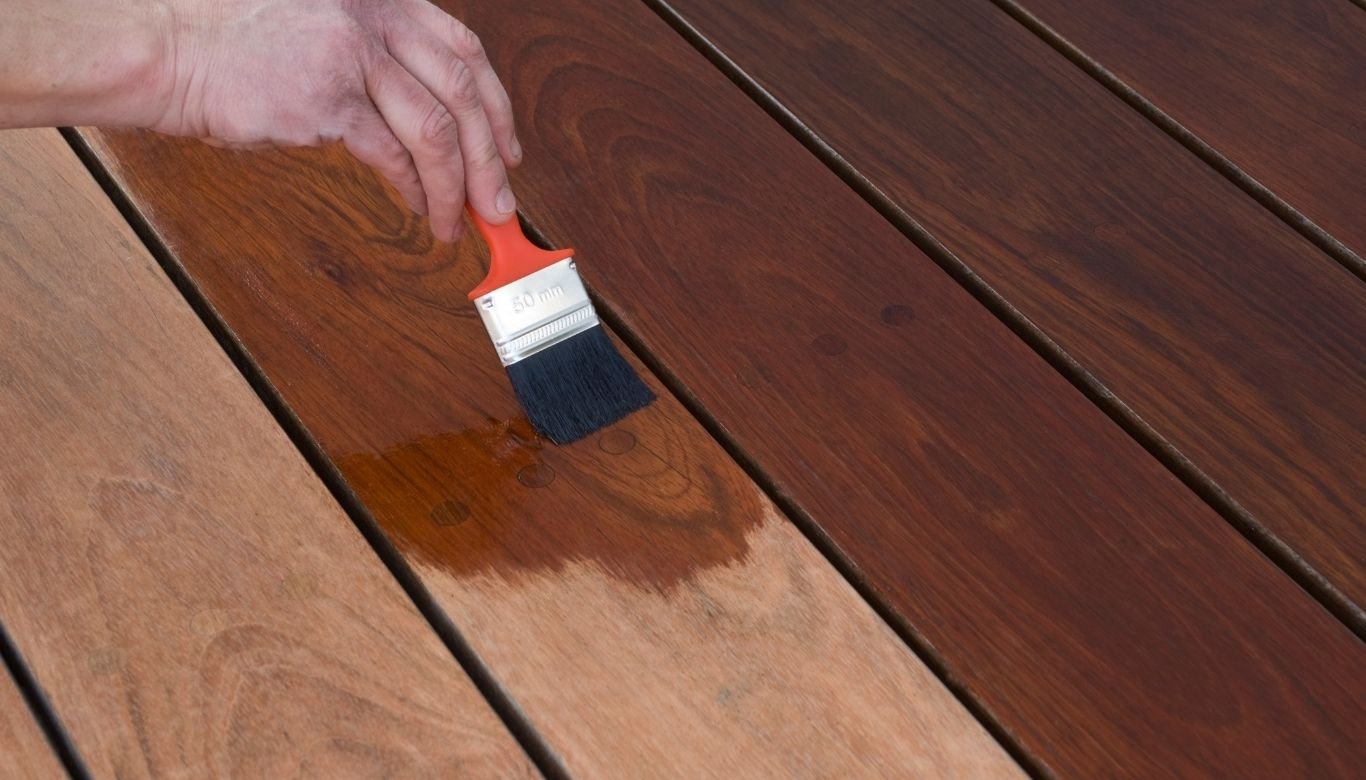
Step 5: Applying the Stain
Now for the main event. Here’s the professional sequence for how to apply stain to hardwood floors:
Choose the right applicator. Foam pads, lambswool applicators, or carpet pads on a buffer all work.
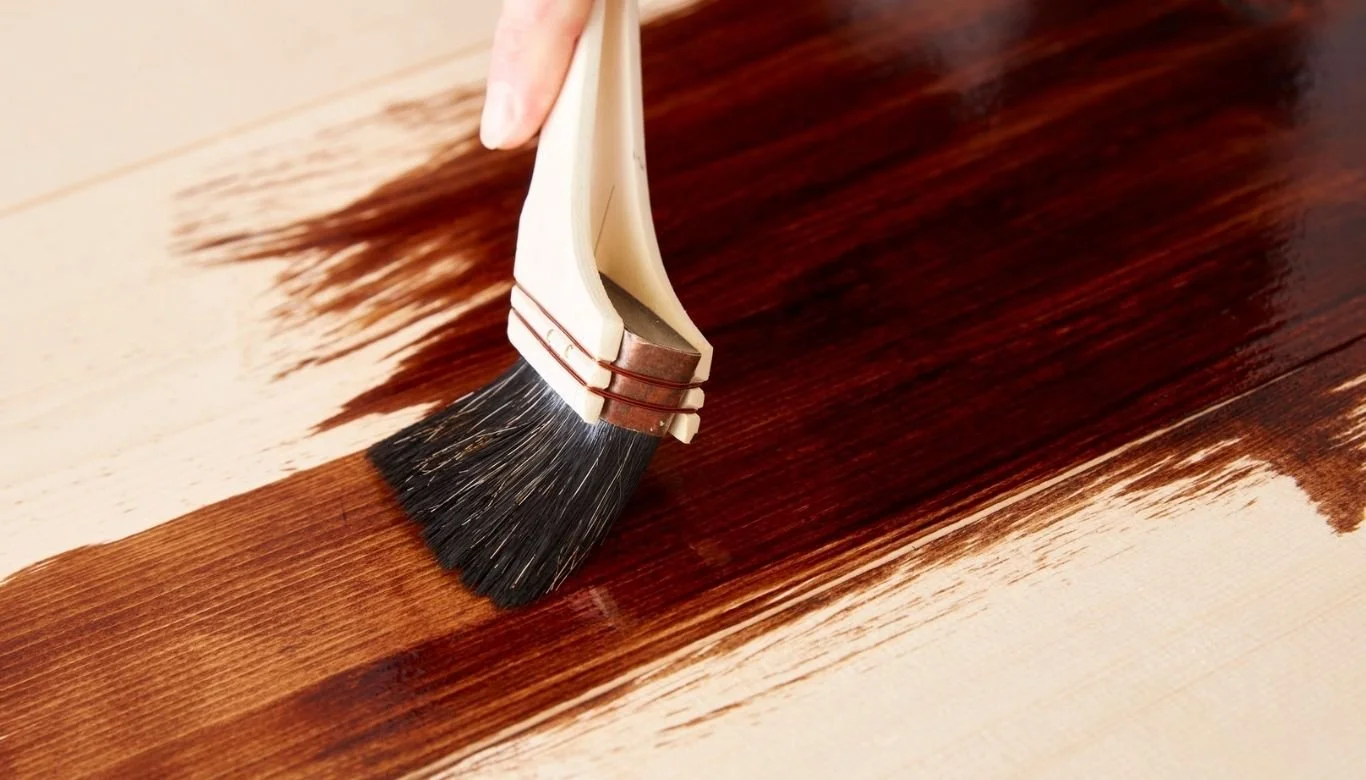
Work in sections. Apply stain with the grain in 3–4 sq. ft. areas.
Wipe excess immediately. Don’t let stain pool — it causes blotches. Use clean rags to even out color.
Maintain a wet edge. Never let one section dry before blending with the next.
Ventilate properly. Stain fumes are strong — keep windows open and fans running.
At Sandover Floors, our crews often work in pairs: one applies the stain, the other wipes it down. That teamwork produces an even, showroom-quality finish every time.
Contact our team today for a free hardwood staining estimate →
Step 6: Drying Time Is Non-Negotiable
Patience is the hardest part of how to apply stain to hardwood floors. Rushing leads to “bleedback” — when uncured stain seeps back up and ruins your finish.
Minimum drying time: 48 hours
Best practice: 72 hours before sealing
Tip: High humidity or low temps can extend drying times — don’t risk it.
Once dry, you can apply your protective topcoat: polyurethane, oil-based finishes, or water-based finishes depending on your preference.
Protect your newly stained floors with our professional finishing services
Step 7: Finishing and Protecting Your Stain
Stain adds color, but it doesn’t protect. You’ll need to apply multiple coats of finish:
Water-based polyurethane: Dries faster, clear, less odor
Oil-based polyurethane: Warmer tones, tougher finish, longer drying times
Natural oils: Danish, tung, or teak oil for a more traditional look
Each coat should be sanded lightly between applications for maximum adhesion. This is where DIYers often cut corners — but the difference shows in the durability of your floor.
Common Mistakes to Avoid
Learning how to apply stain to hardwood floors isn’t just about what to do — it’s about knowing what not to do.
Skipping sanding steps
Using too much stain
Failing to wipe off excess
Rushing the drying stage
Forgetting to ventilate
Applying incompatible finish over stain
At Sandover Floors, we’ve fixed countless DIY staining disasters. Trust us: prevention is far cheaper than correction.

Why Choose Sandover Floors?
Since 1939, homeowners across Vancouver and the Fraser Valley have trusted Sandover Floors to refinish, restore, and stain their hardwood.
80+ years of craftsmanship
Low-VOC, eco-friendly finishes
Serving Vancouver, Burnaby, Surrey, Richmond, Coquitlam, Abbotsford, and beyond
Transparent quotes and a process that keeps you informed every step of the way
When it comes to how to apply stain to hardwood floors, our expertise means you’ll get the color you want — without the headaches.
Book your free consultation with Sandover Floors today →
Frequently Asked Questions
Can I apply stain without sanding first?
No. Skipping sanding leaves the old finish intact, preventing stain from penetrating evenly.
How many coats of stain should I apply?
Usually one coat is enough. Multiple coats don’t make the floor darker — they cause blotching.
How long does the entire staining process take?
Including prep, staining, and finishing, expect 4–7 days before furniture can be moved back in.
Do all species of hardwood take stain the same way?
No. Oak and ash take stain beautifully. Maple, pine, and birch are harder to stain evenly.
What’s the difference between stain and finish?
Stain changes the color of wood. Finish seals and protects it. Most floors require both.